Why upload files to CMS?
For some simple projects, SMP player can be used as a standalone device. All you have to do is upload media files into the player directly before start to convey information. However, media files, in the client-server model, should be uploaded to a CMS server in advance. Then, SMP players can retrieve files from the server, store them in local storage devices, and play contents based on the schedule controlled by the server.
Before getting started
In this article, we will show you the ways to upload files to a CMS server. You still need to establish a connection between SMP players and the CMS server so that players can download media files from the CMS server successfully.
There are two ways for you to update content via Network Shares: CAYIN Device Seeker and File Explorer.
NOTE : Please open Port 139 (TCP) if you are using a firewall.
CAYIN Device Seeker
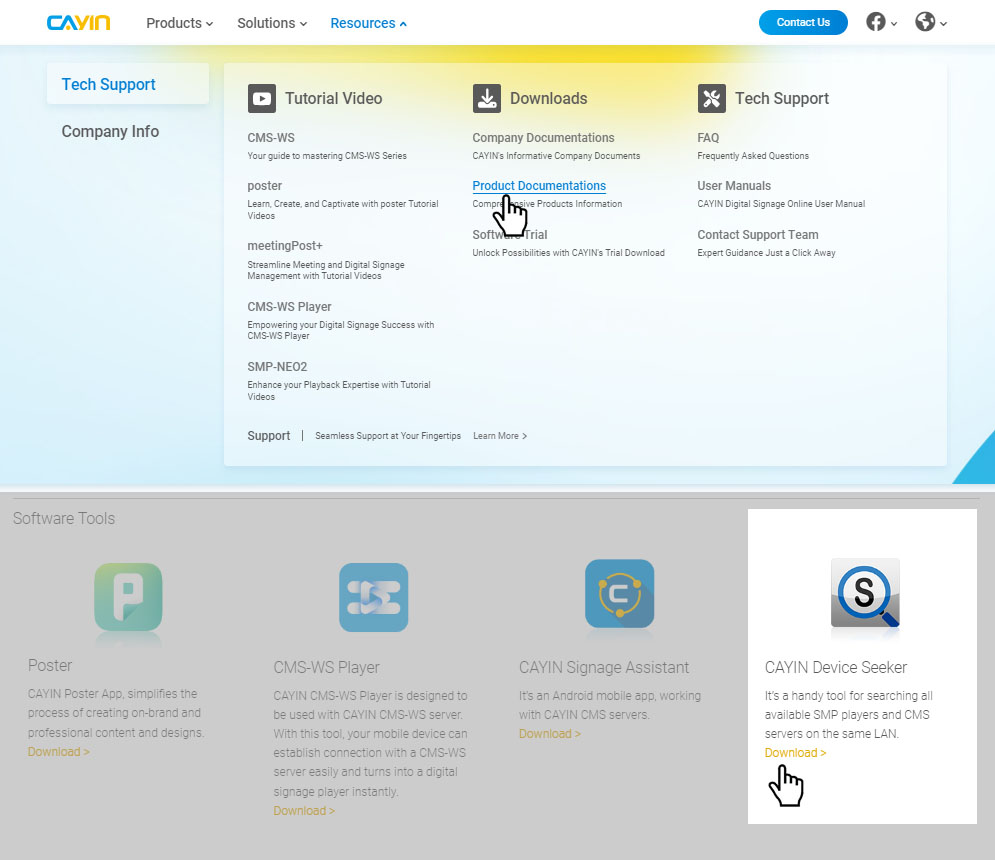
STEP 1 : You can download CAYIN Device Seeker from CAYIN Website and save this file to your PC for future management.
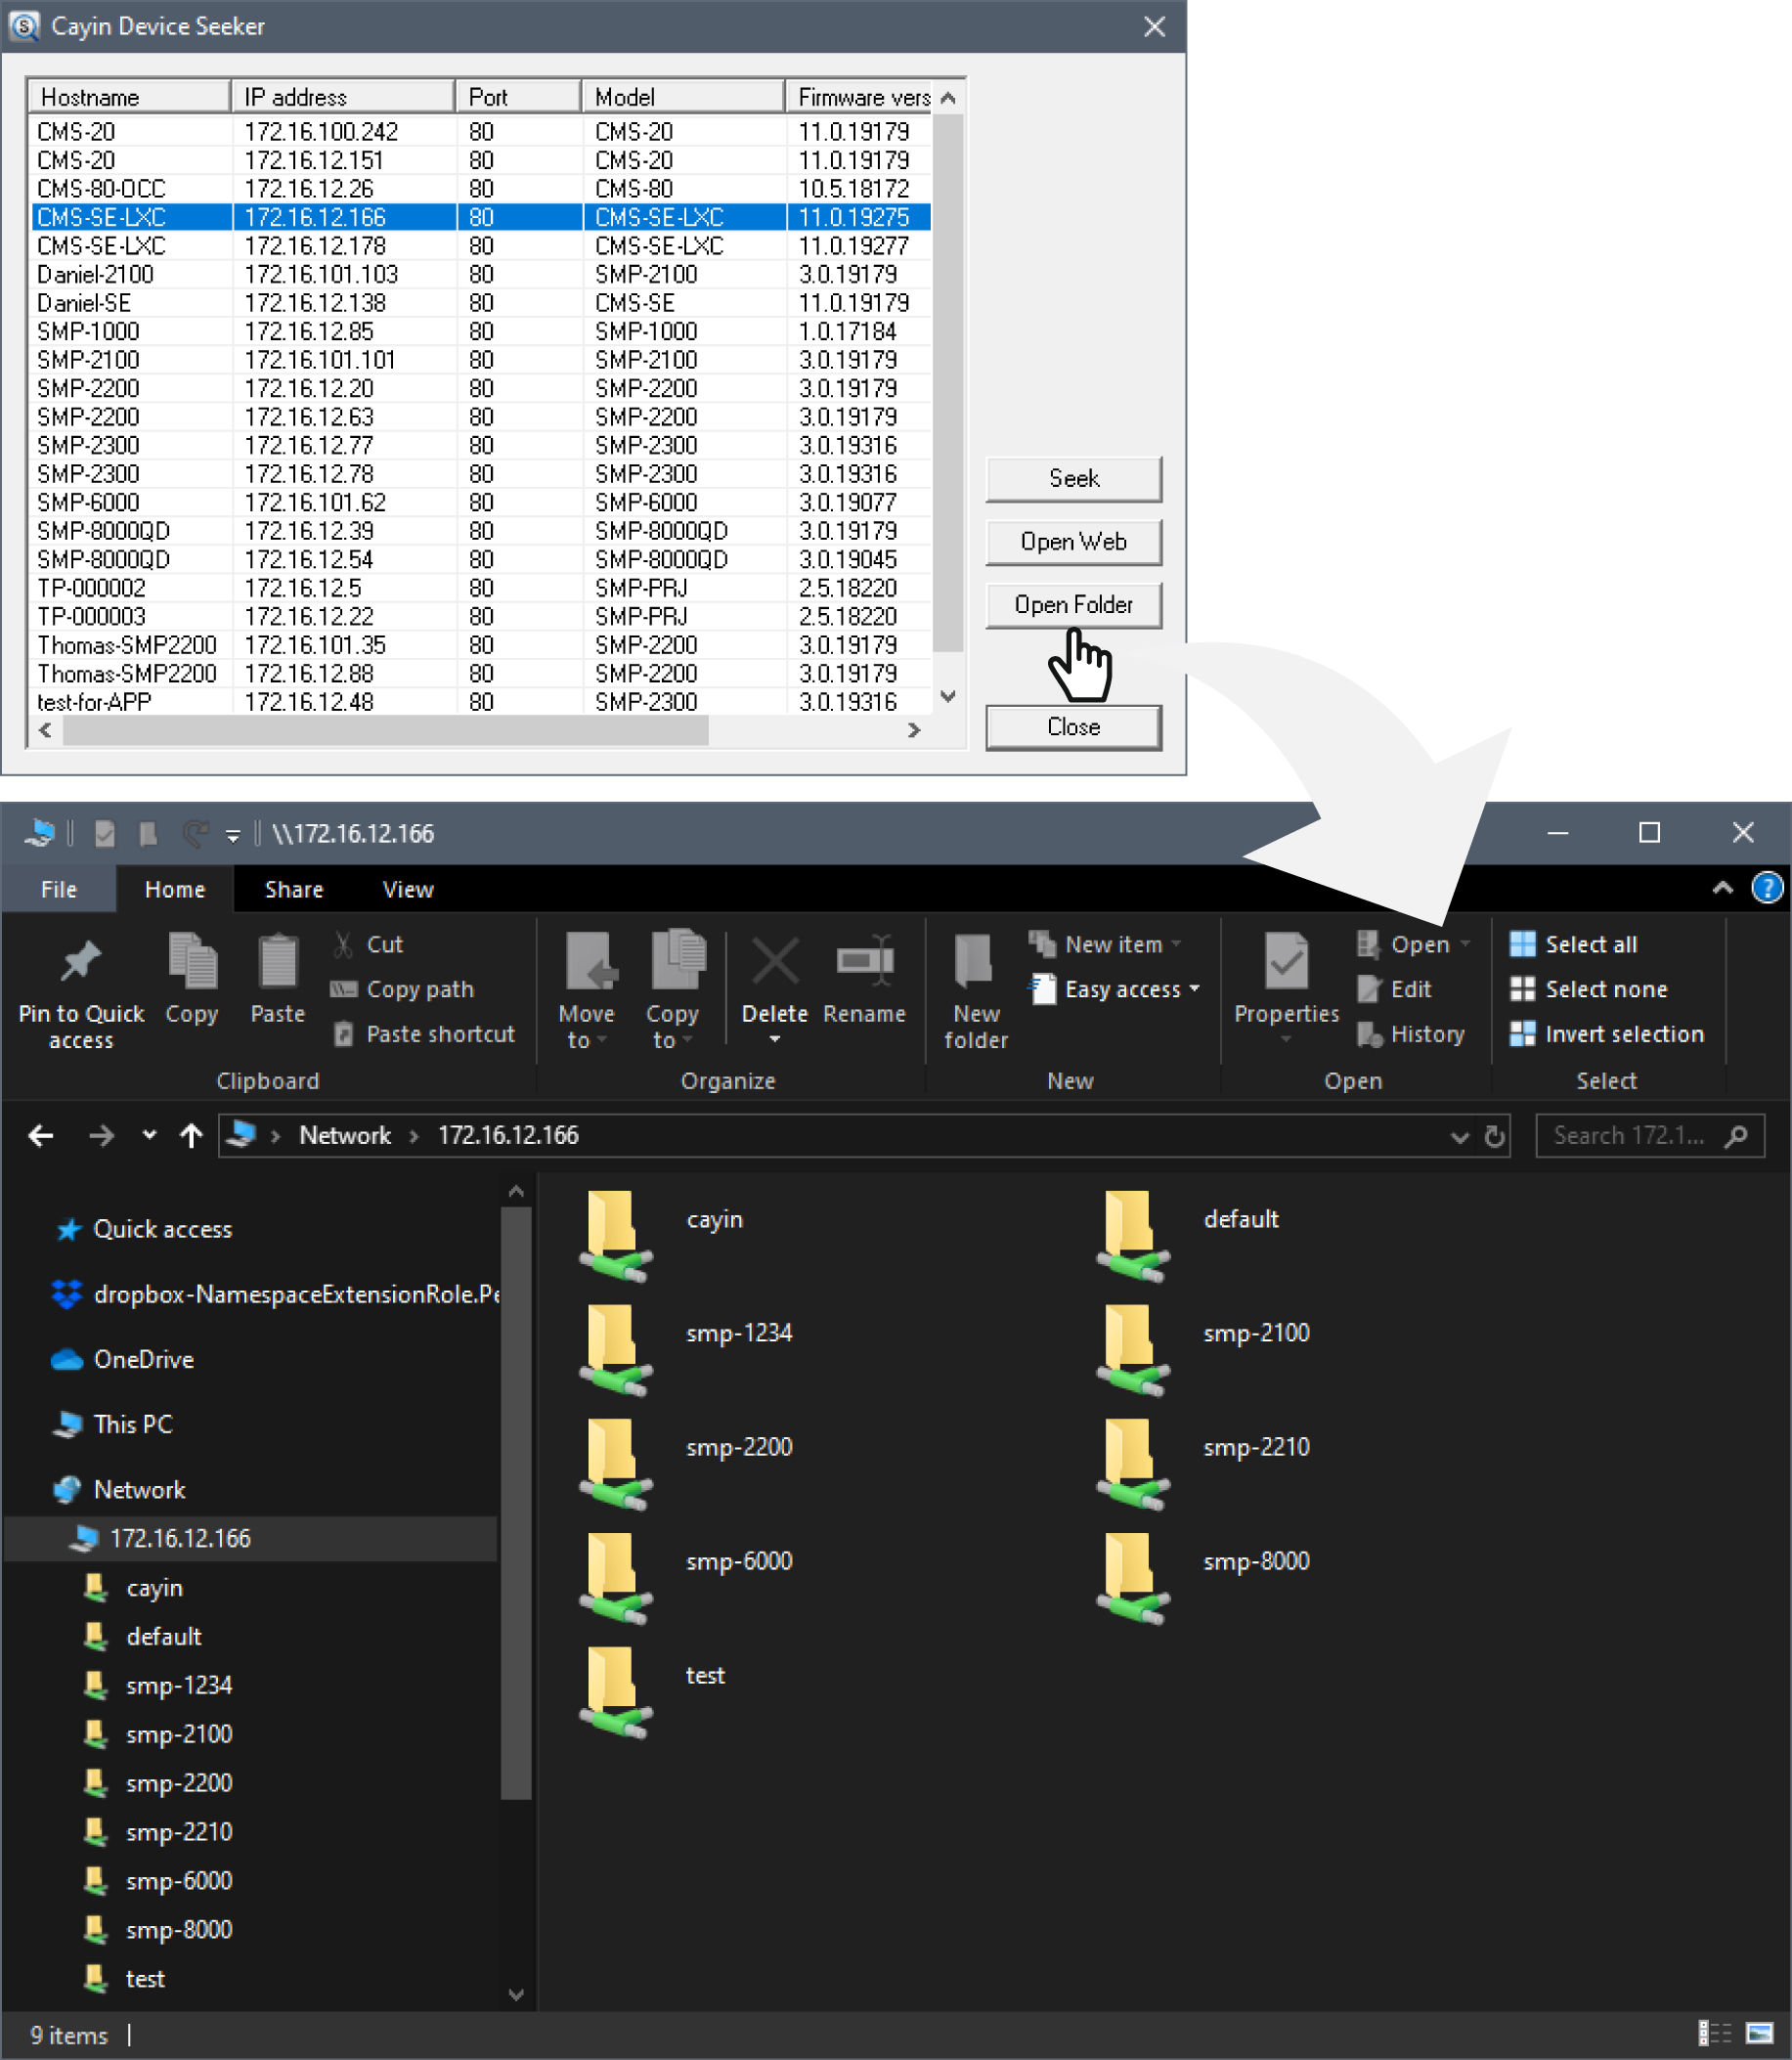
STEP 2 : Click Seek and the seeker will search all available SMP players and CMS servers in the same LAN. When the devices are found, select the one you want to connect, and click Open Folder.
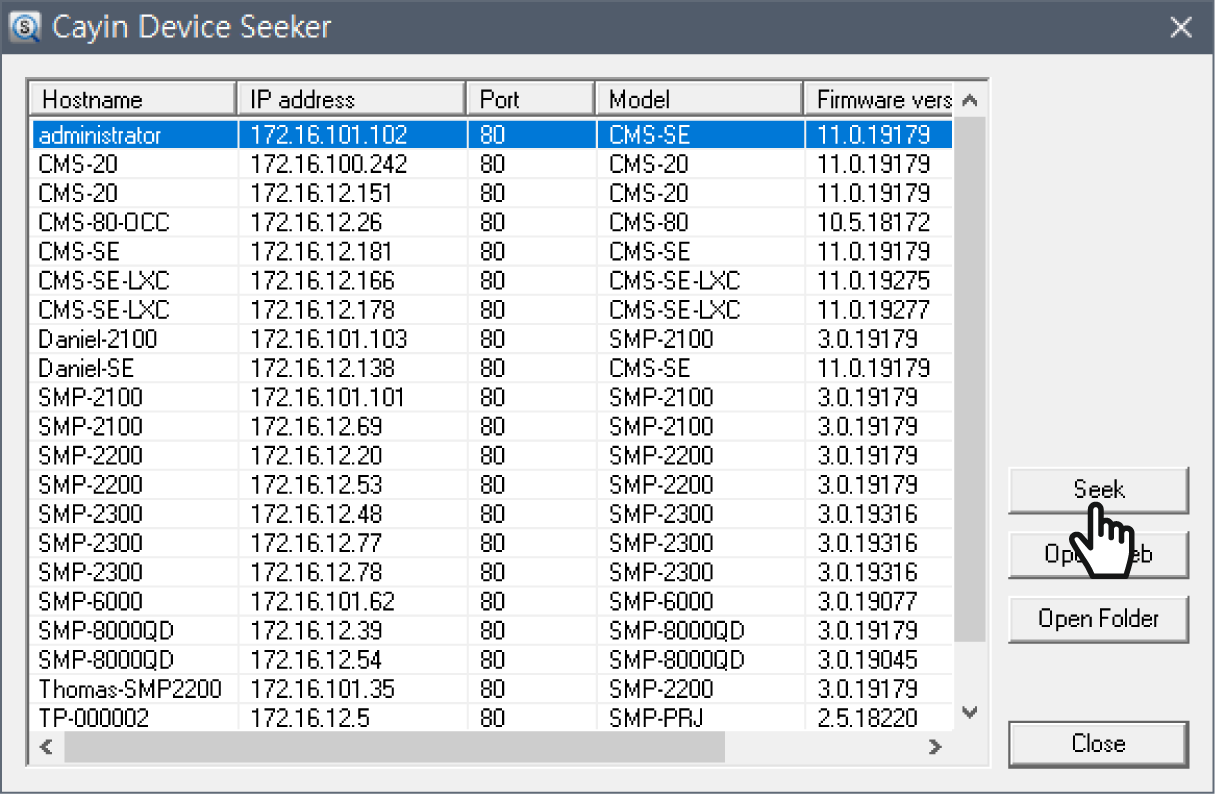
NOTE : Your PC and CMS server must be in the same LAN so that you can use CAYIN Device Seeker to open the Media Folder of that CMS.
STEP 3 : Your PC will open File Explorer and you can see files and folders in your selected server.
STEP 4 : Copy multimedia files from your PC to the CMS server via Network Shares (Network Neighborhood).
NOTE : If you are having a device search or connection problem, try the solutions below:
- Check if you have more than one network connection. For example, apart from LAN, your PC/notebook is also connected to a wireless network or a virtual network interface card. Please disconnect all the other network connections except LAN.
- In the Windows 10 platform, if you want to upload multimedia files to a CMS server (for software earlier than version 11.0) via Windows Network Neighborhood, you are required to manually enable the SMB 1.0/CIFS File Sharing Support. Please refer to Connect a SMBv1 Device via Windows 10 System.
File Explorer
STEP 1 : Open File Explorer and enter \\CMS Server' hostname or \\CMS' IP address. For example, if the CMS' hostname is CMS, please enter \\CMS or \\172.16.12.166.
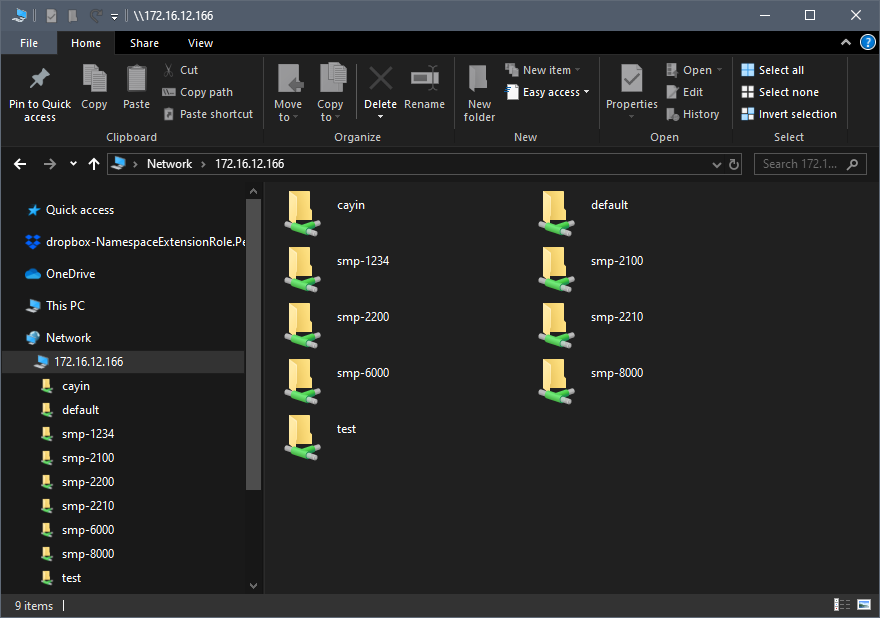
STEP 2 : Copy multimedia files from your PC to the CMS server via Network Shares (Network Neighborhood).
Method 2: FTP
STEP 1 : Log in to CMS Web Manager and go to SYSTEM > Service > FTP.
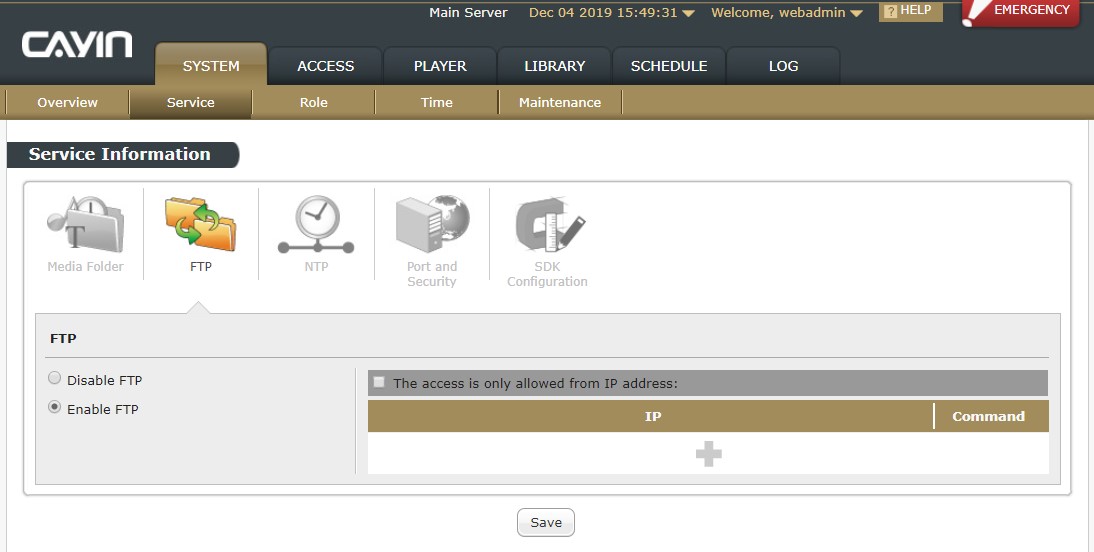
STEP 2 : Enable the checkbox : Enable FTP.
STEP 3 : Click Save to save and apply the settings.
Now you can use FTP client software to upload/delete files in a CMS' Media Folder.
NOTE : Please open Port 20, 21 (TCP) if you are using a firewall.
Method 3: Library
You can upload and delete files in a CMS' Media Folder directly via CMS' Web Manager.
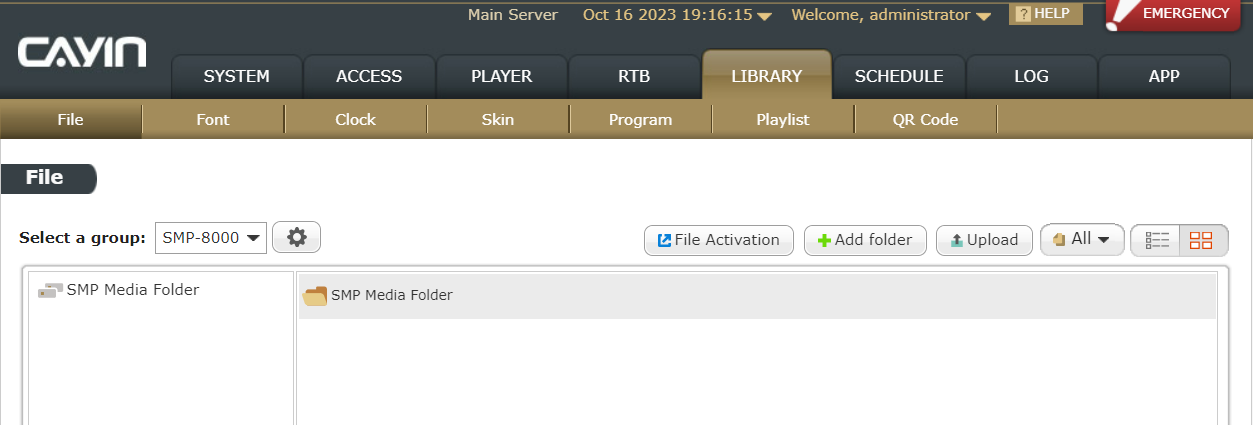
STEP 1 : Log in to CMS Web Manager and go to LIBRARY > File.
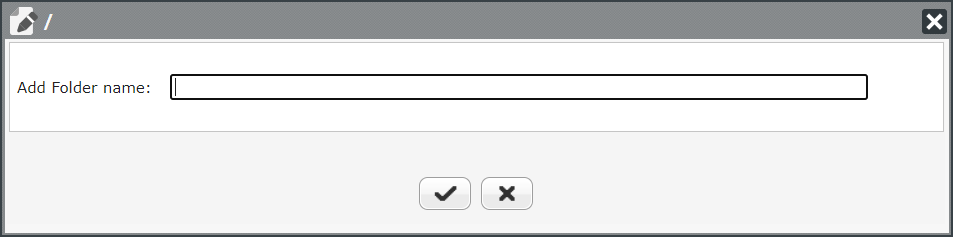
STEP 2 : Create folders. Go to the root
directory or subfolder which you want this folder belongs to.
Click the Add folder button and you will see a pop-up window. Enter
the folder name
and click ![]() .
.
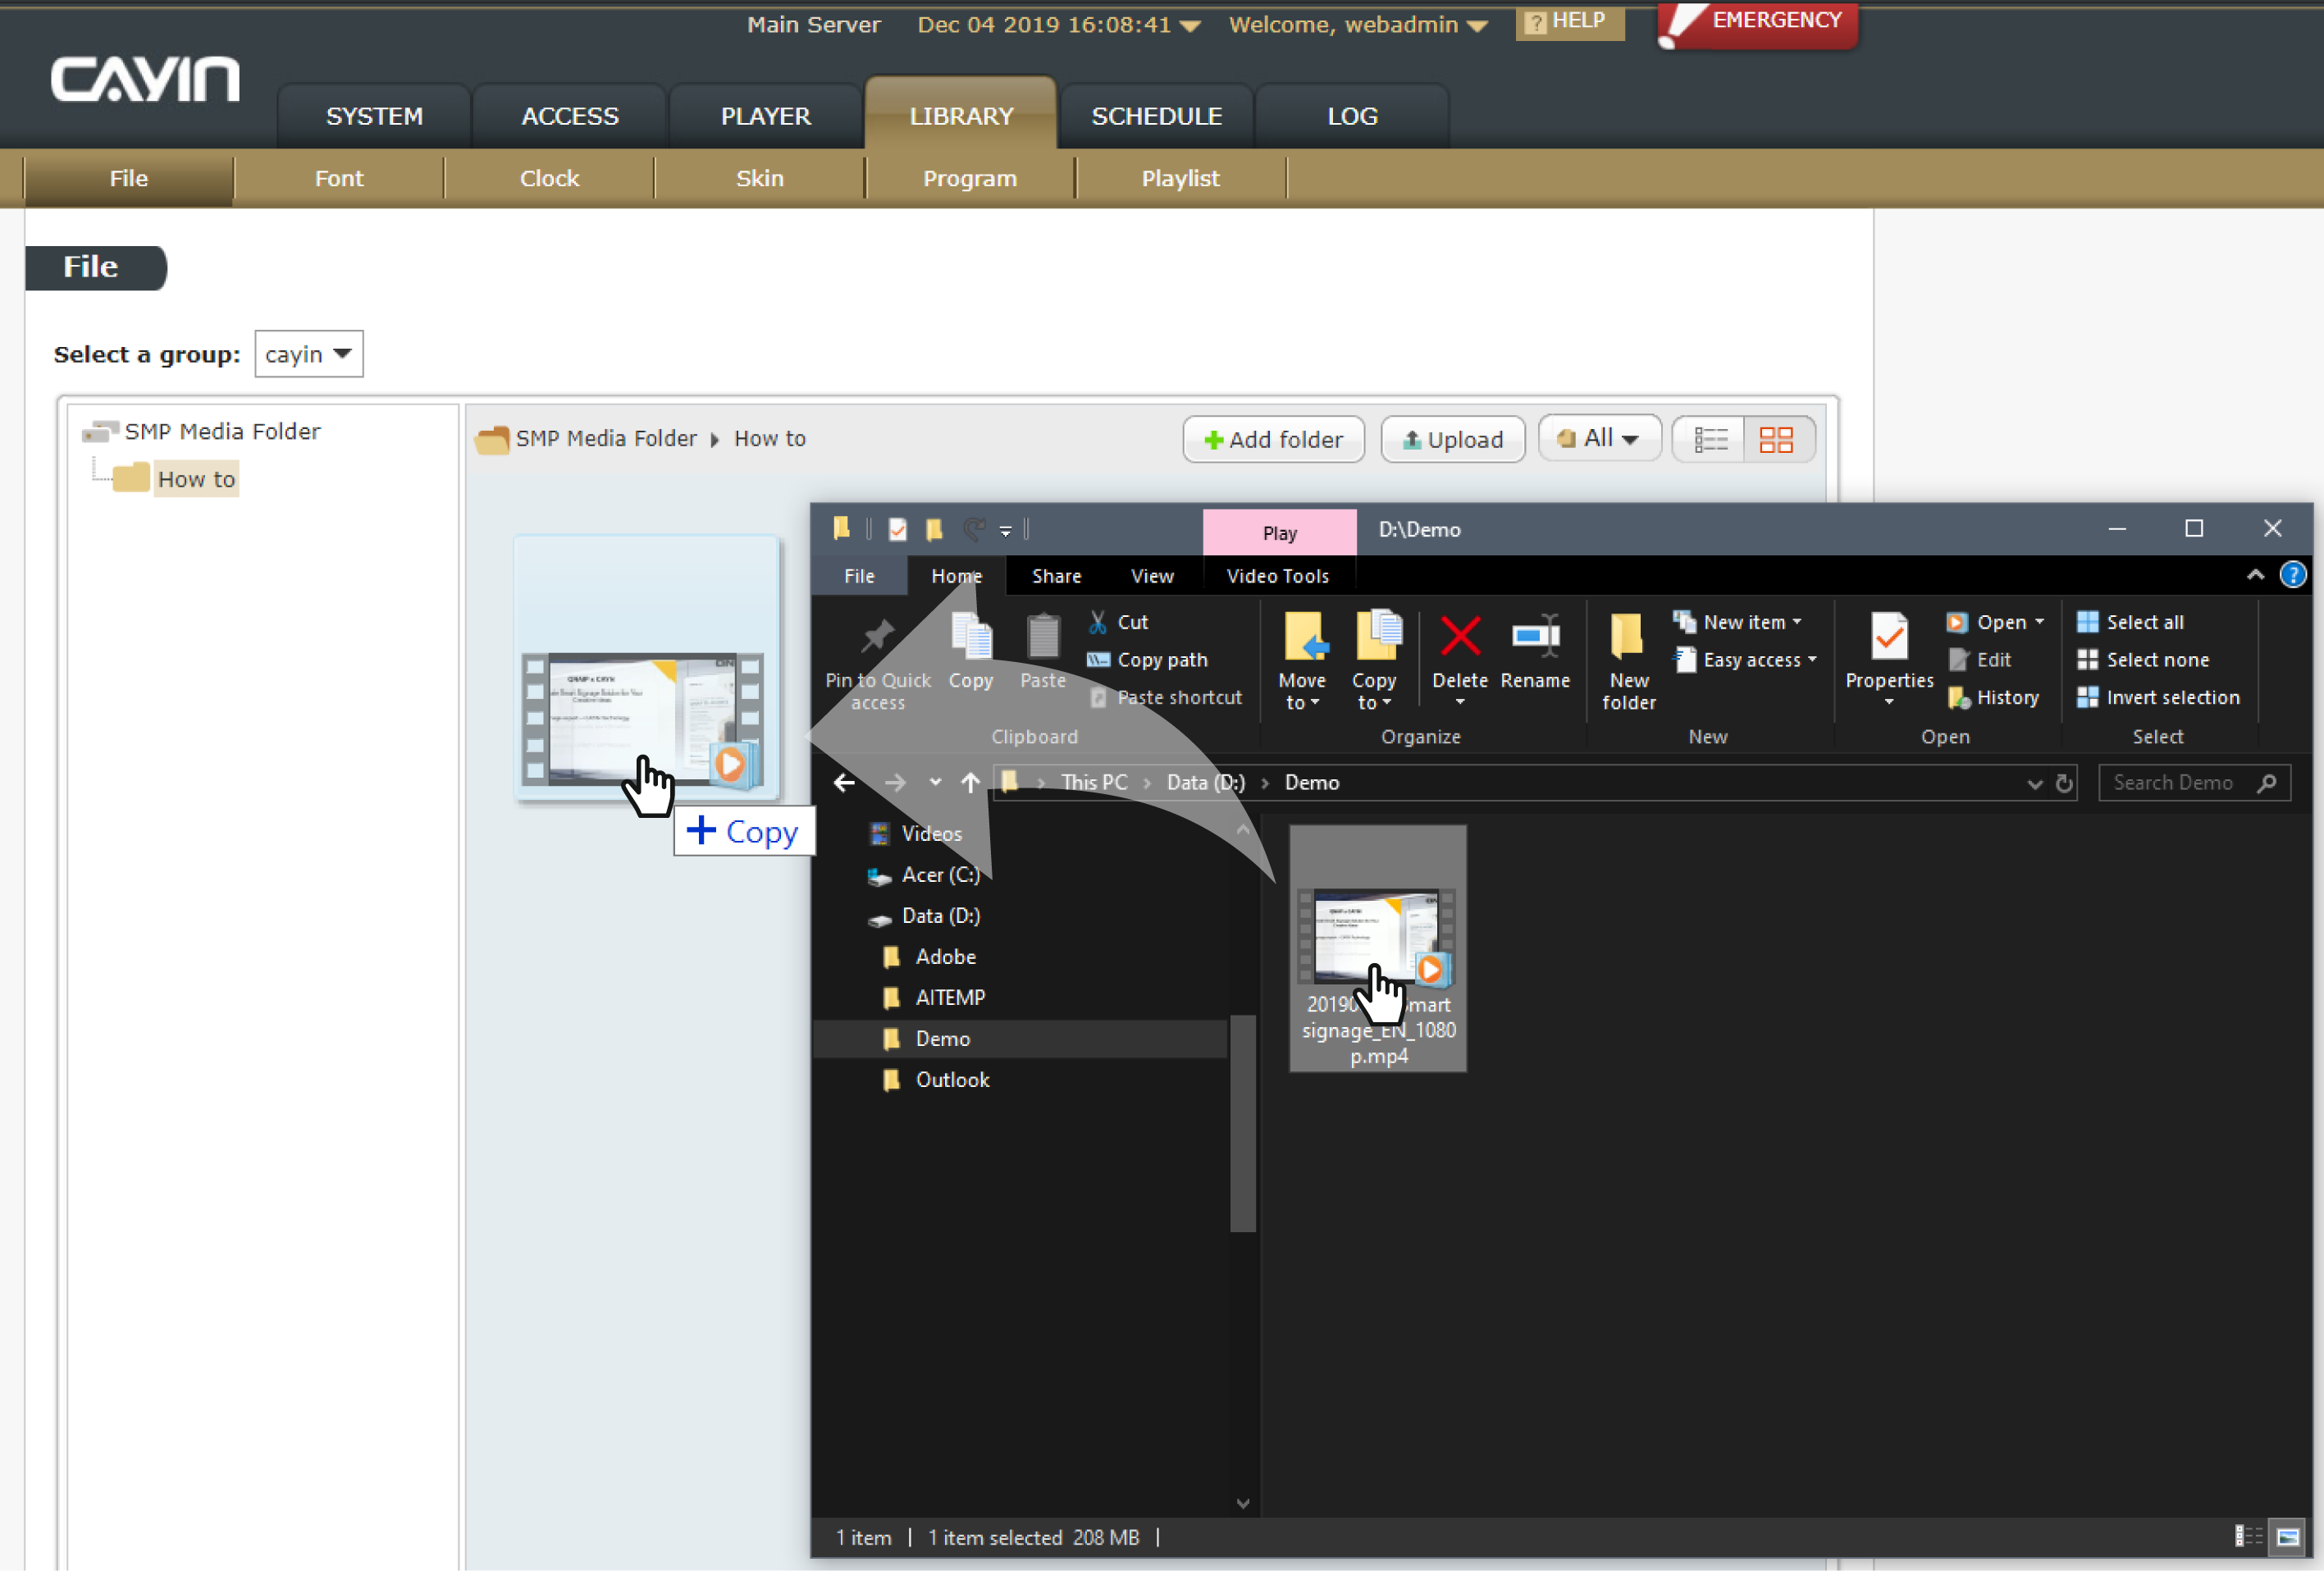
STEP 3 : Go to the folder which you want the files belongs to. There are two ways for you to upload files.
- Drag and drop
You can upload files by dragging multiple files directly from Window’s Explore to CMS’s Web Manager. You can even drag the whole folder ou can even drag the whole folder if you use Google Chrome, Firefox or Edge.
Click
 to reconfirm the
uploading job.
to reconfirm the
uploading job.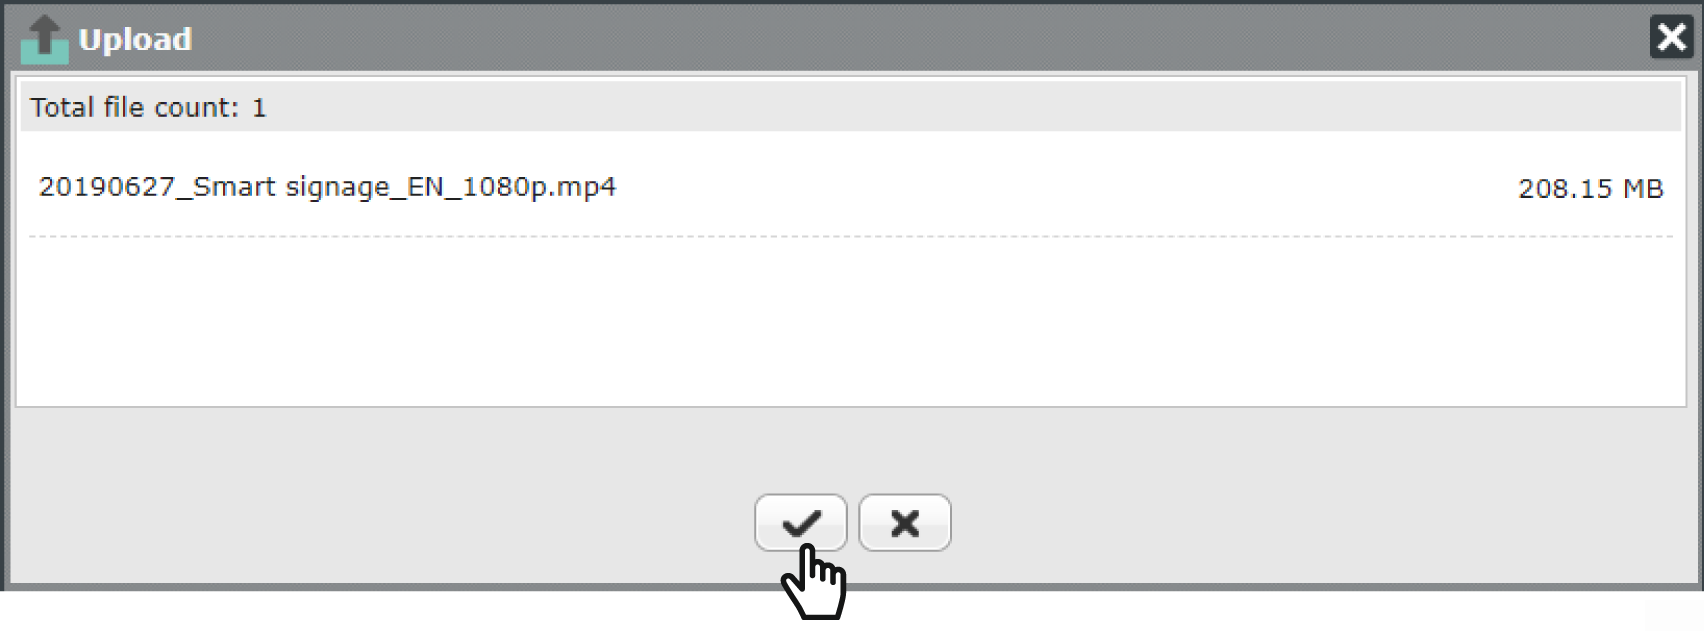
- Click the upload button
Click the Upload button and you will see a pop-up window.
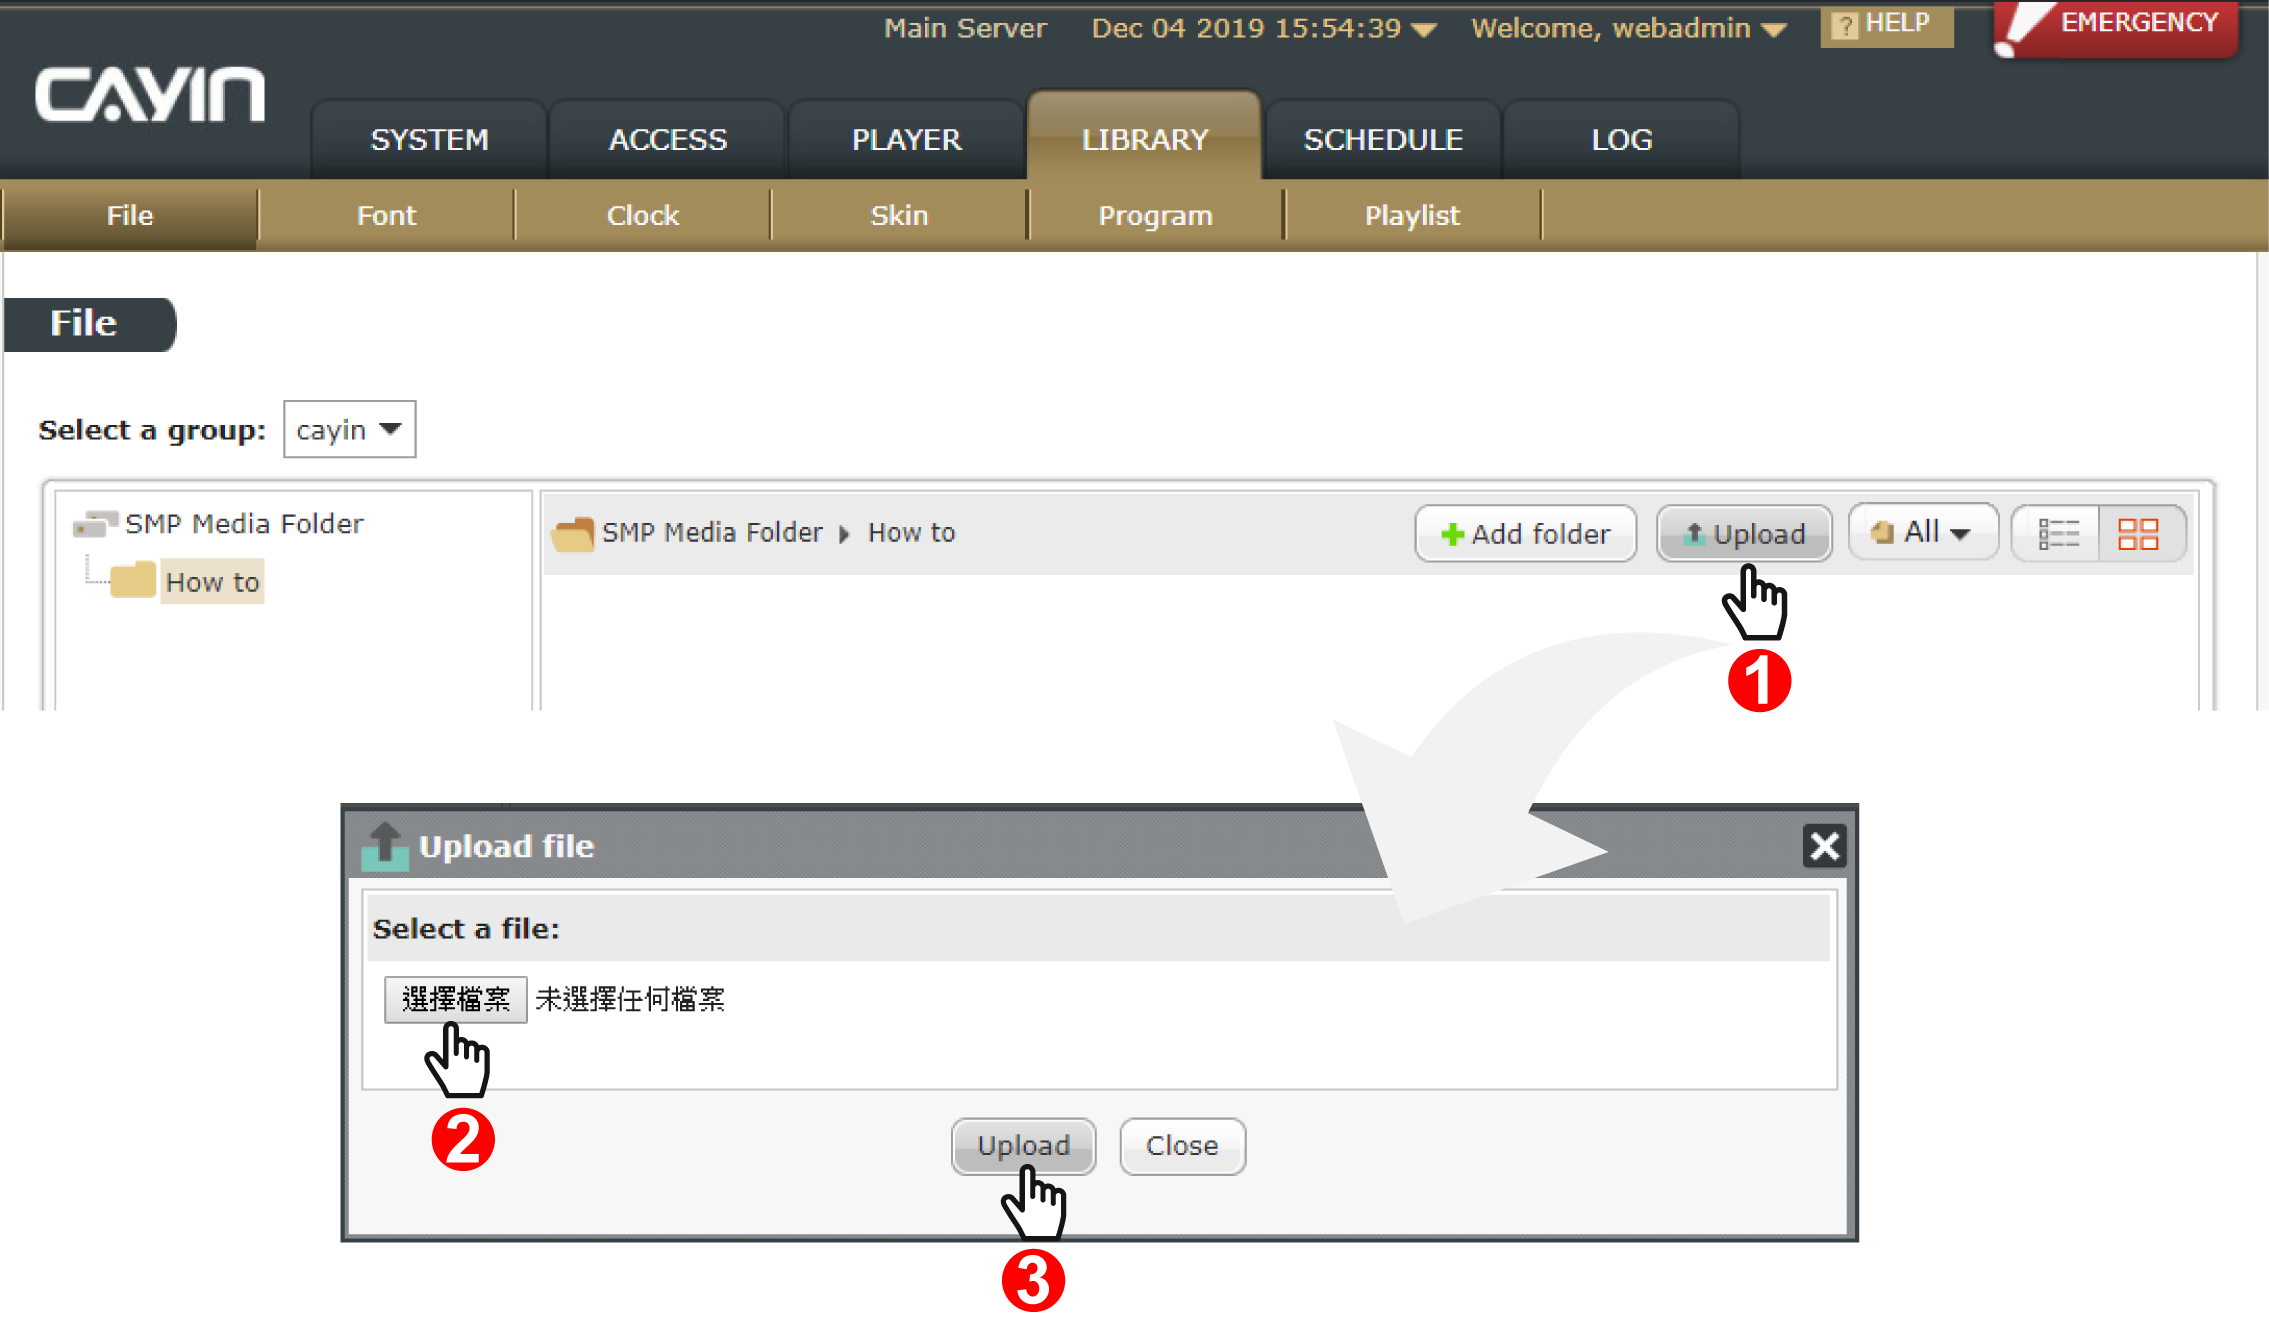
Click Browse to select files; then click Upload. You can select multiple files and upload them at a time. You can also upload files and folders in one compressed file (ZIP format). CMS will unzip files and folders automatically after you upload the zip file, which will be removed right after the system unzip it successfully.
NOTE : CMS will keep the original file if you upload a compressed file with an unknown file extension.
Click Close to close the window after you upload all files.
NOTE : Media folder is used to store all multimedia files you upload. If you run out of disk space, you will not be able to add more files into the Media folder. Please check the Disk Drive: Resource Usage in SYSTEM > Overview page.