Why central scheduling?
When you apply central scheduling, SMP players will playback multimedia content automatically based on the schedule assigned by the CMS server. In other words, scheduled playlists are edited on a CMS server rather than an SMP player.
The primary benefit of centralized scheduling is its efficiency and time-saving. The effect is even more remarkable if you need to manage a large number of media players. Instead of setting up players one by one, you can divide all players into groups, use CMS server to edit scheduled playlists for each group, and all players in the same group will apply the same scheduled playlists.
Before getting started
Every SMP player applies only one server configuration. Please remember to complete server-related settings in SMP Web Manager (CMS > CMS Connection) before you start to use Central Scheduling. For detailed information, please refer to Establish Communication between a CMS Server and an SMP Player.
CAYIN digital signage solution has the power and flexibility to create versatile multimedia presentations to meet a wide range of applications. The configurations vary, according to your actual usages.
In this document, the operating procedures are premised on the following application:
SMP-01 is under Group-A and syncs files from Folder-1 in the CMS server. SMP-01 will play video files in full-screen mode. The layout (template) and content of SMP are completely controlled by CMS.
Handover SMP control to CMS
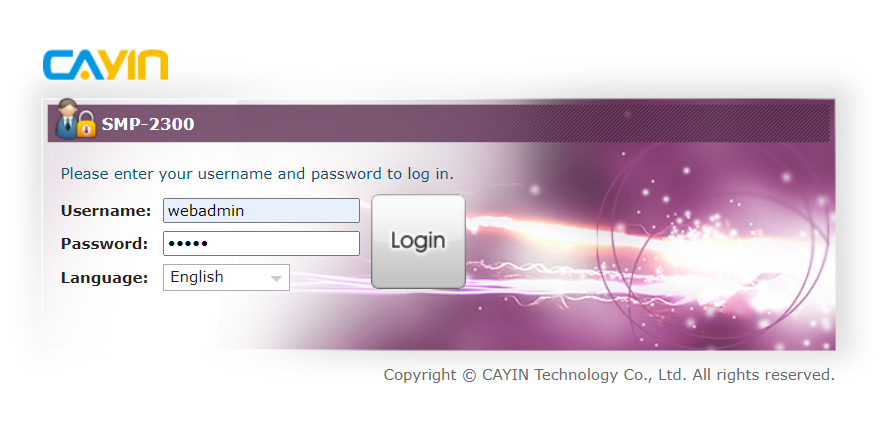
STEP 1 : Log in SMP Web Manager. Enter your username and password and select the language display for your user interface. Then, click Login.
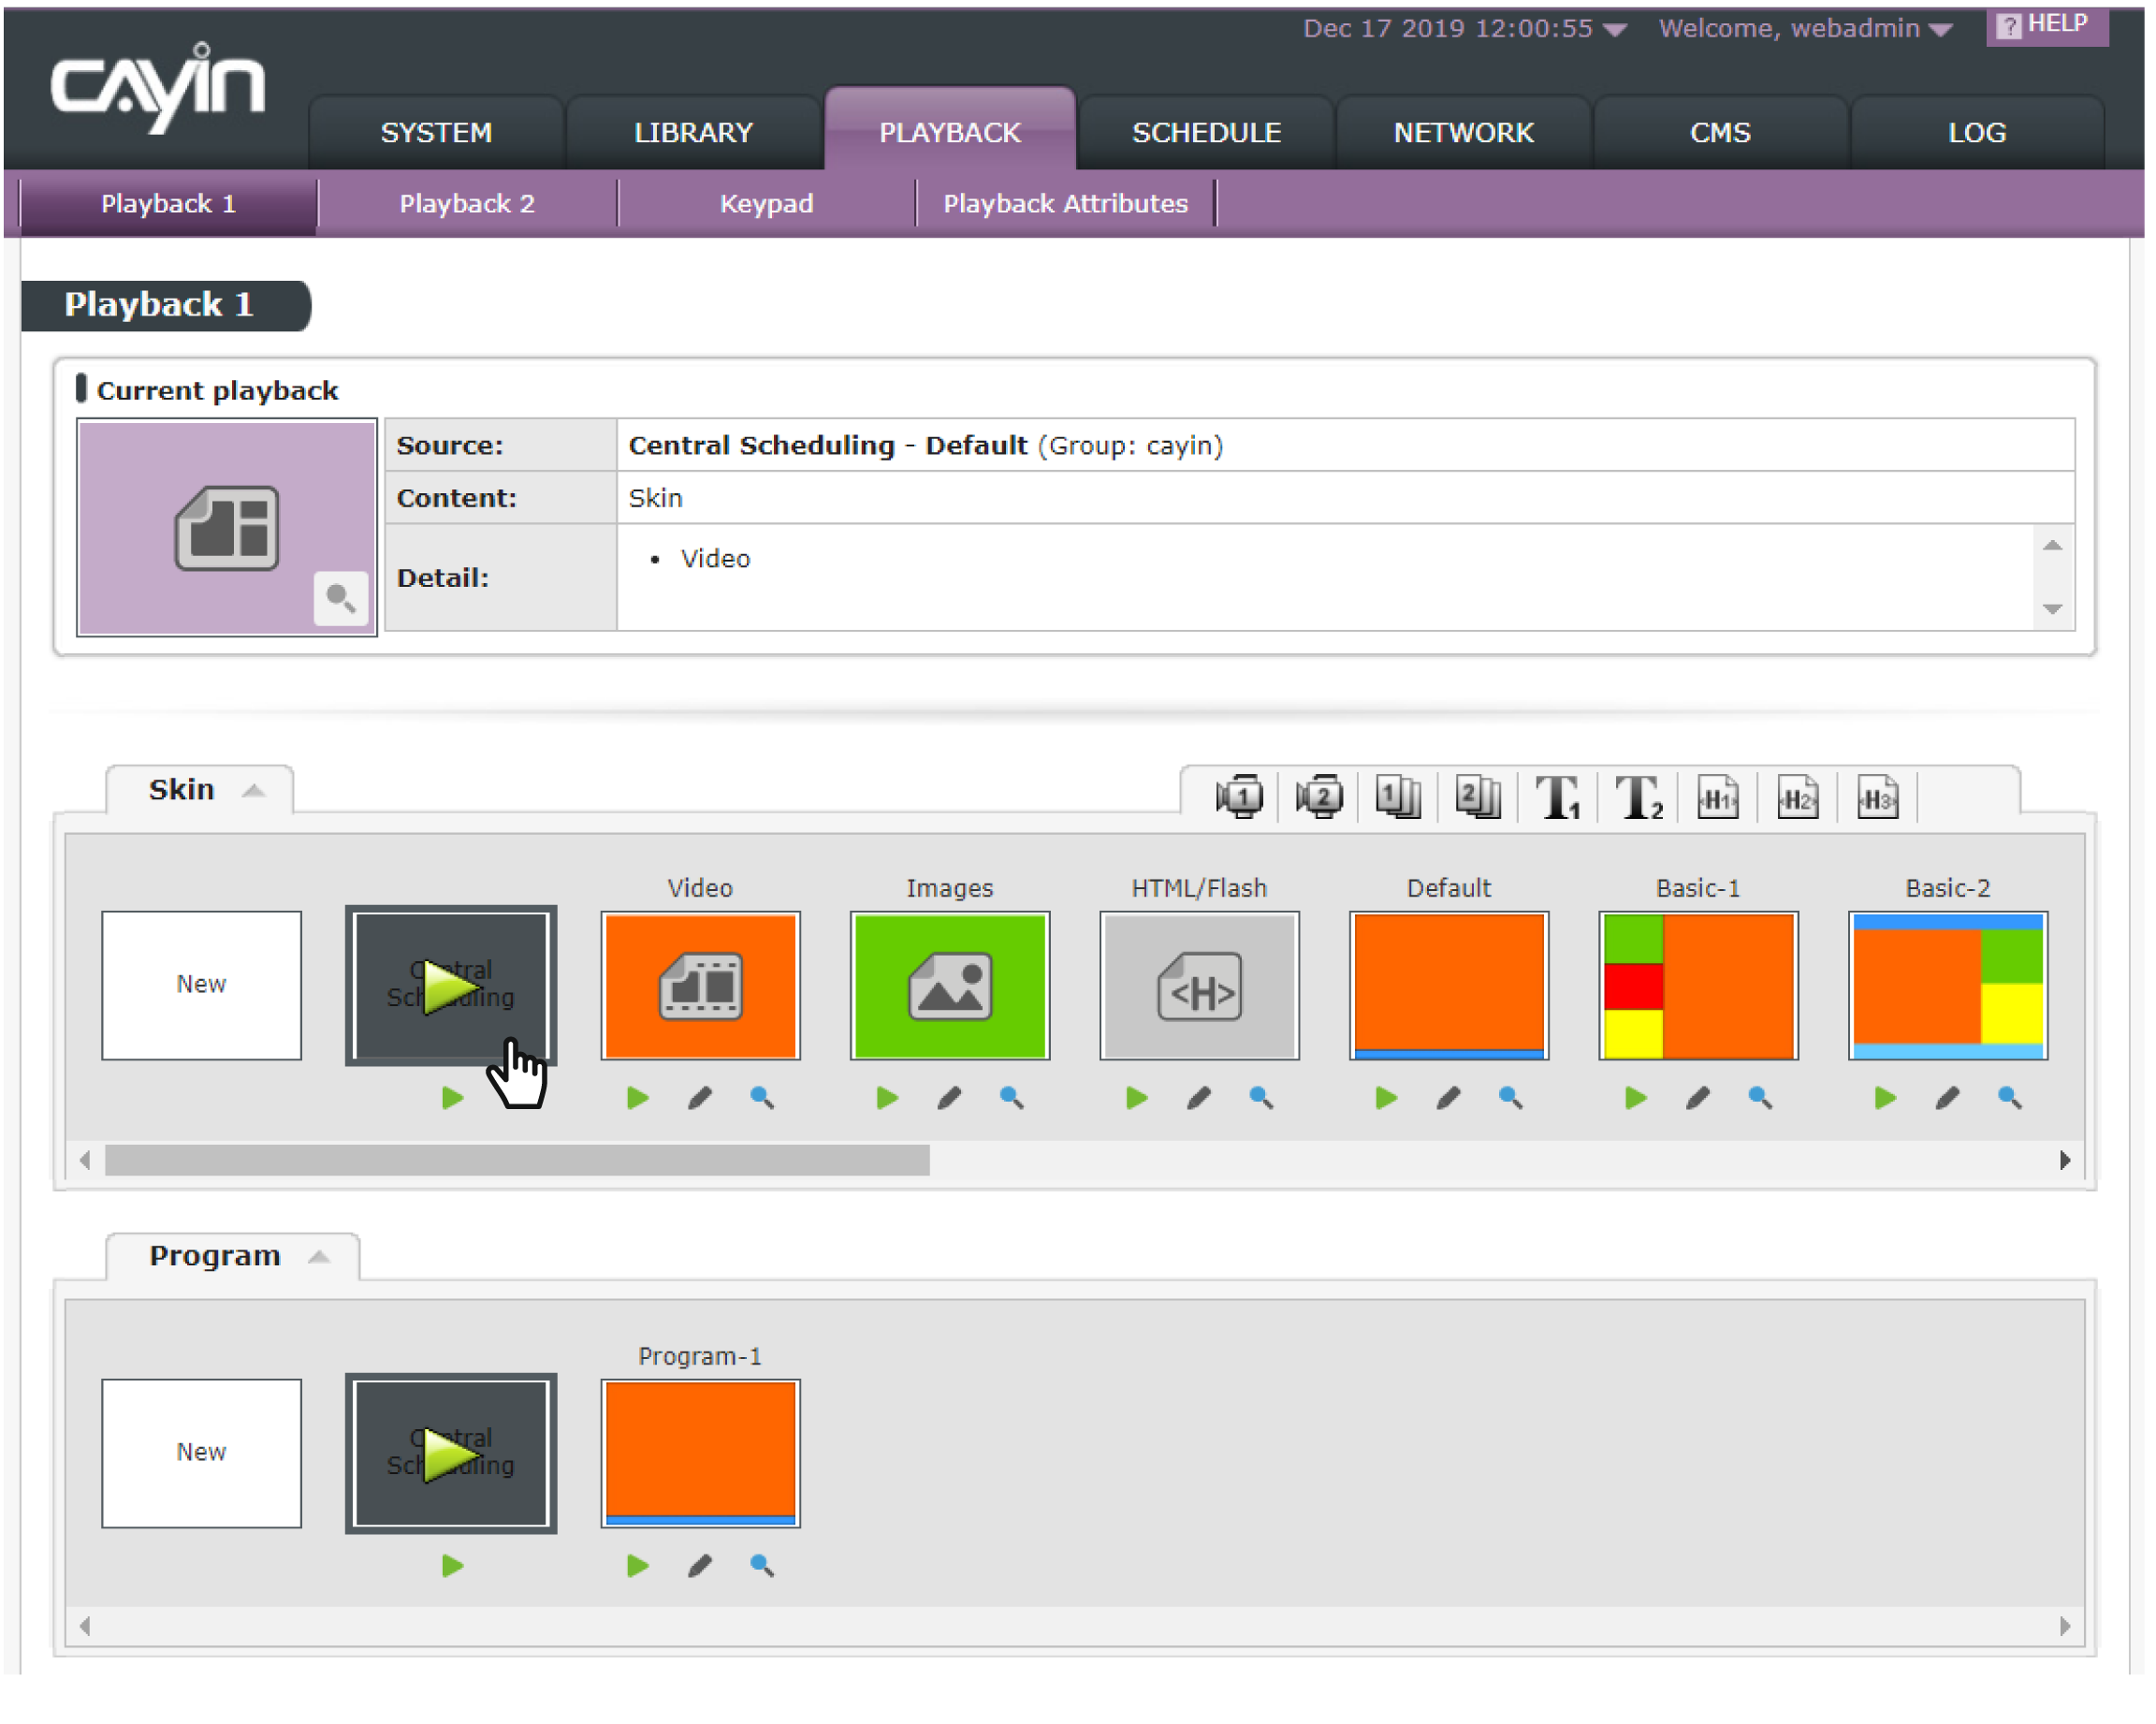
STEP 2 : Go to PLAYBACK > Playback 1. In this page, you will see three playback modes: Skin, Program, and Playlist. Choose Central Scheduling in either one of the modes.
NOTE :
Please note that you need to do one more step so that the CMS server can control content playback of this SMP player completely if you want to adopt Skin mode.
Click the icon of each zone on the upper right corner of the skin section. Then, set each zone separately as Central Scheduling.
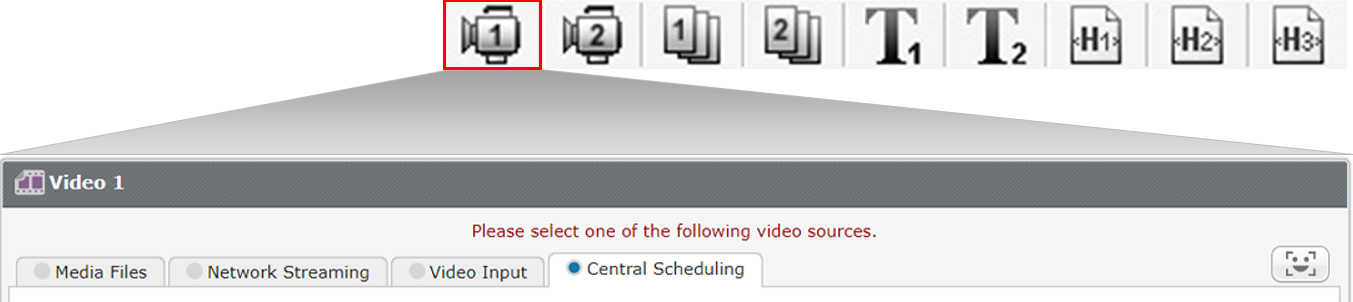
If the above measure is not taken, only the template (skin) will be scheduled by the CMS server. Content playback in each zone will remain to follow the SMP’s local configurations.
Then, the SMP player will hand over its playback control to the CMS server.
Set central scheduling on CMS server
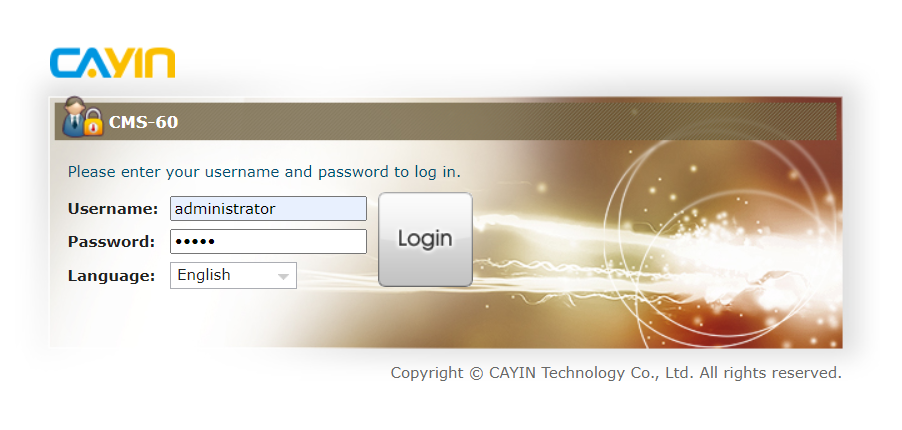
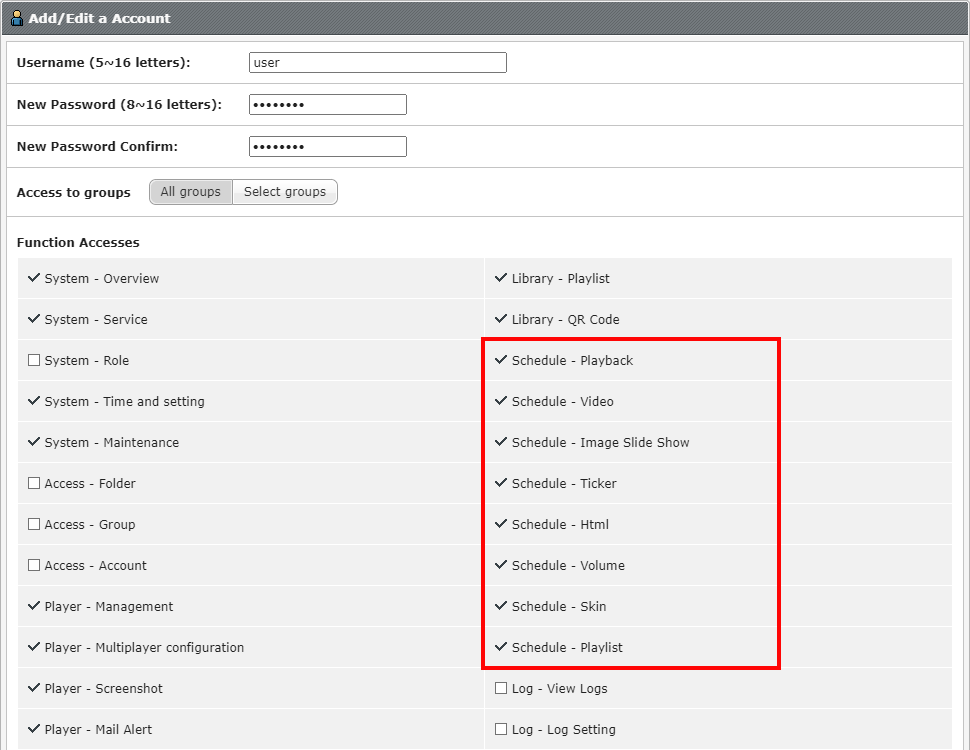
STEP 1 : Log in CMS Web Manager. Enter your username and password and select the language display for your user interface. Then, click Login. If you don’t plan to login as the default administrator, please make sure the user account you use to log in is authorized to access the function: Schedule.
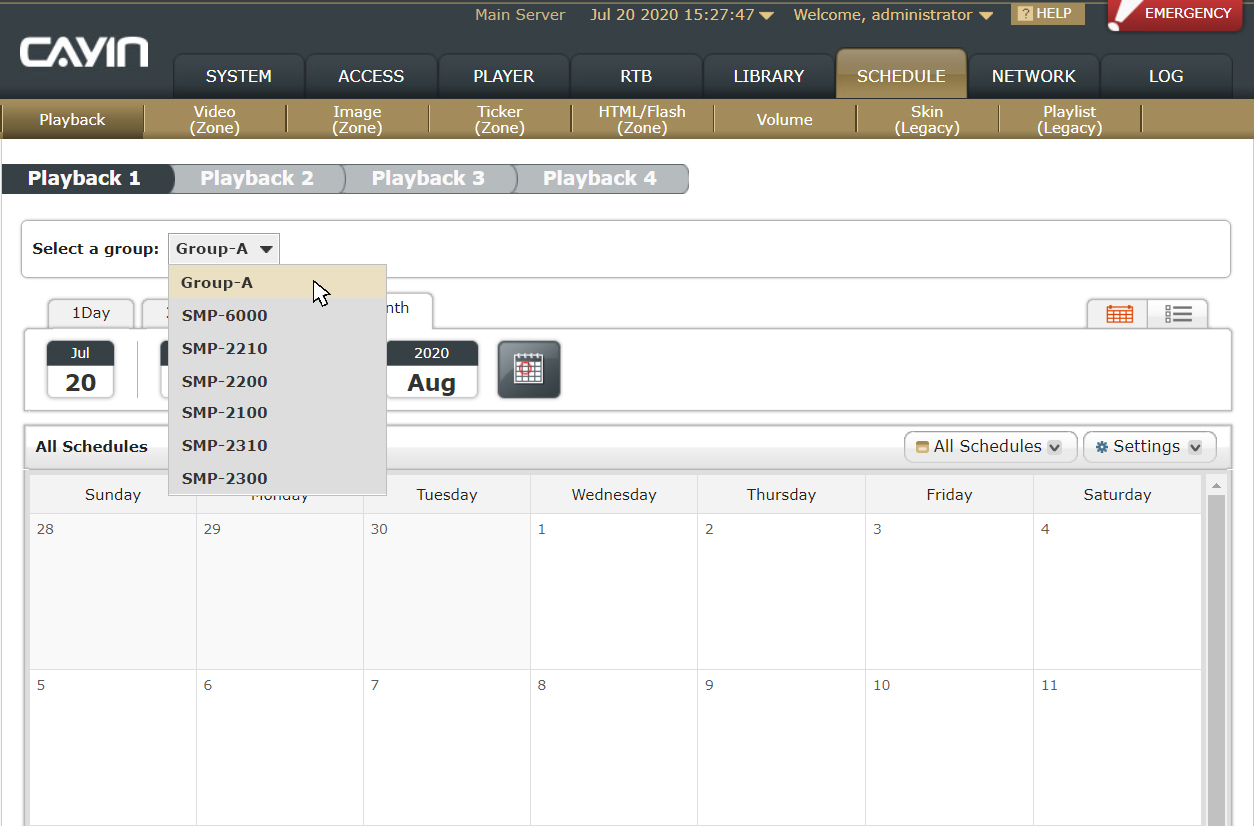
STEP 2 : Go to SCHEDULE > Playback. Select a group which the SMP player belongs to.
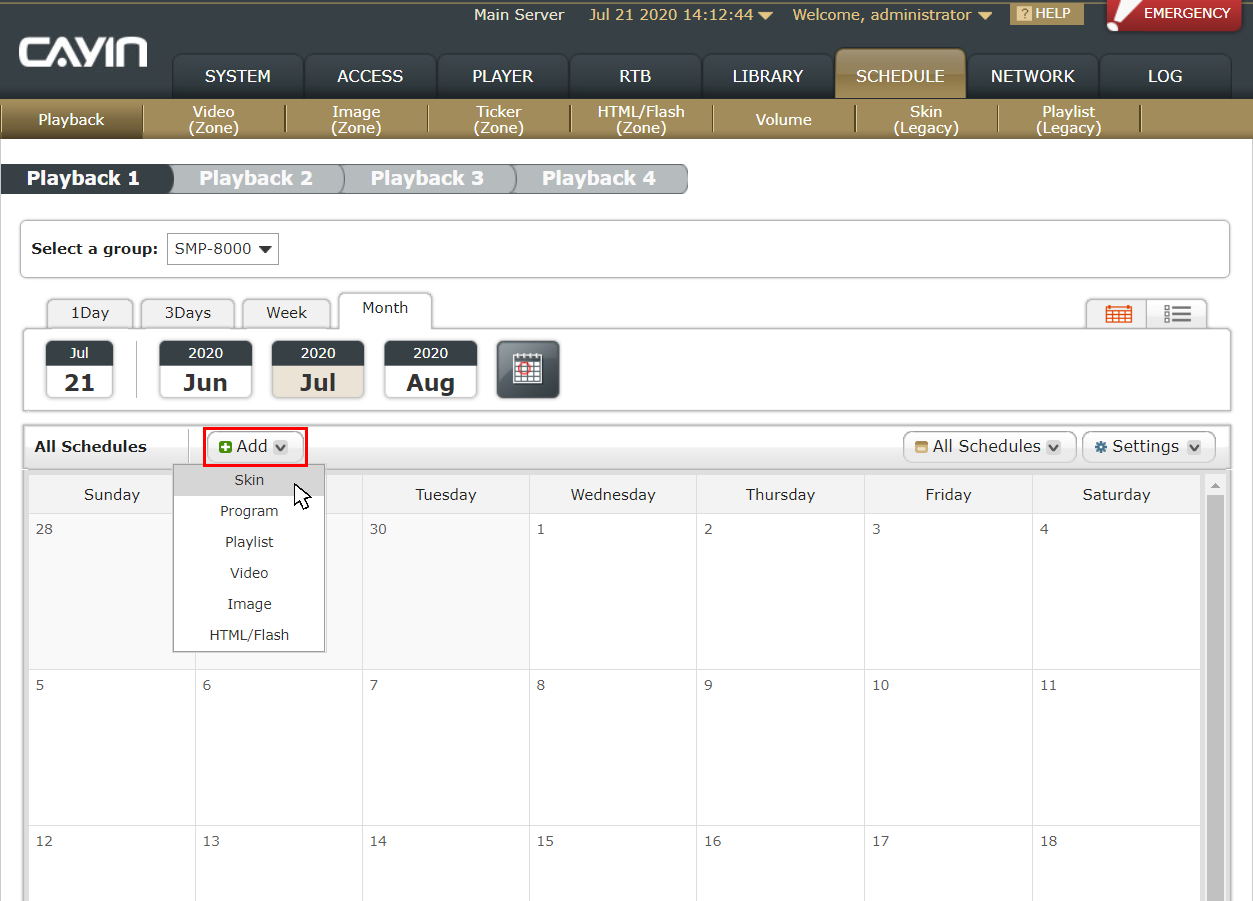
STEP 3 : Click Add to create a schedule, and select a multimedia type ( Skin / Program / Playlist / Video / Image / HTML / Flash ) in the drop-down menu. In this case, we select Skin. Then you will go to the editing page. If you choose a different multimedia type, you will see a different editing page.
STEP 4 : Fill in the schedule name. Then, select a Schedule Mode and specify the date and time. You can play this task once, daily, weekly, monthly, or yearly. You can also play content based on the location and time.
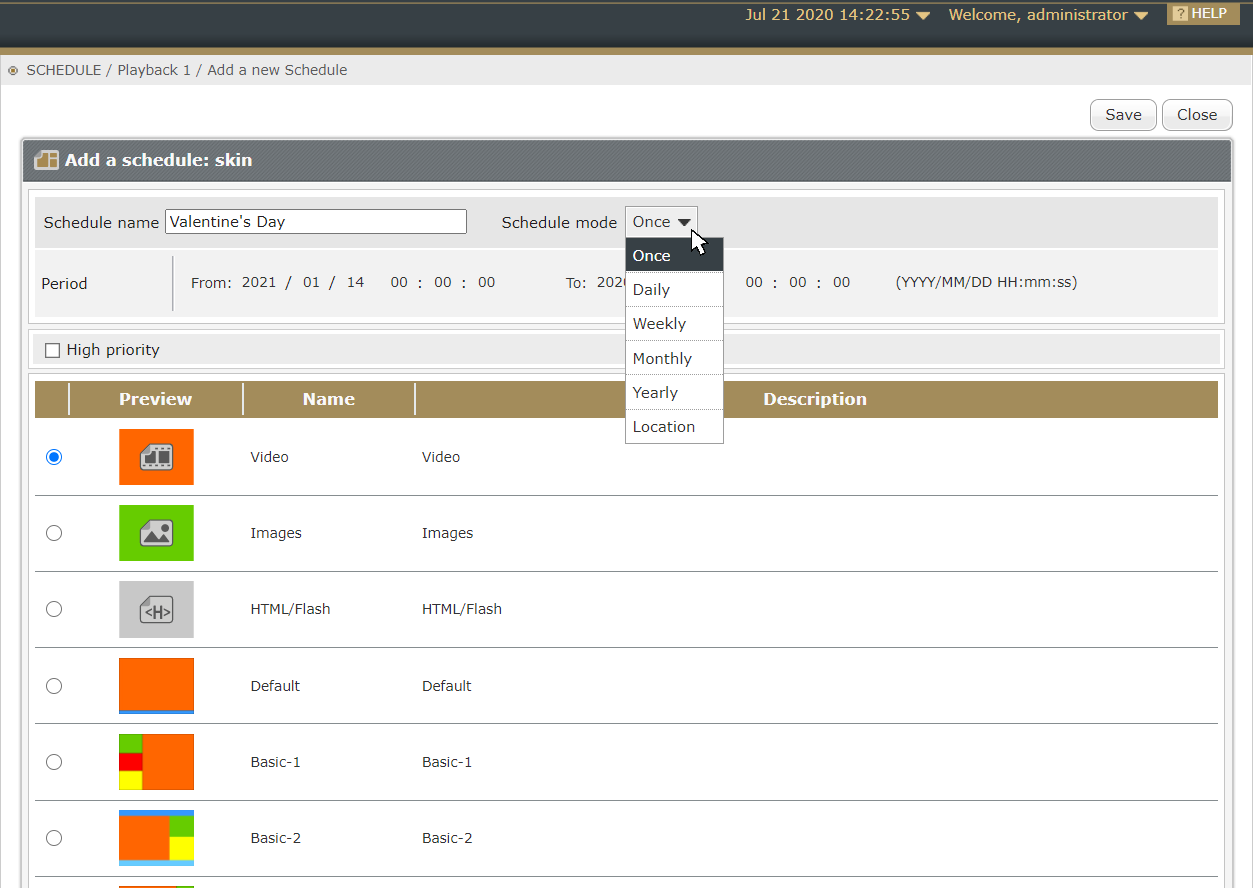
NOTE : Whenever a scheduling conflict occurs, the scheduling principles of priority are ordered as follows: GPS > once > yearly > monthly > weekly > daily > default.
STEP 5 : Set high priority. If you set groups of more than one layer and there is a conflicting schedule between the parent group and the child group. The schedule of the child group has priority by default. That means during the conflict time, SMP player runs the schedule item in the child group. But, you can override this default behaviour by enabling the High priority option in the parent group to make the parent group schedule prior to the child group schedule.
STEP 6 : Select a content which you want to apply to this task. Select the Skin you want to apply. You must create it in the LIBRARY page in advance or you can only see the default Skins. Click the default skin with full-screen video.
STEP 7 : Click Save to
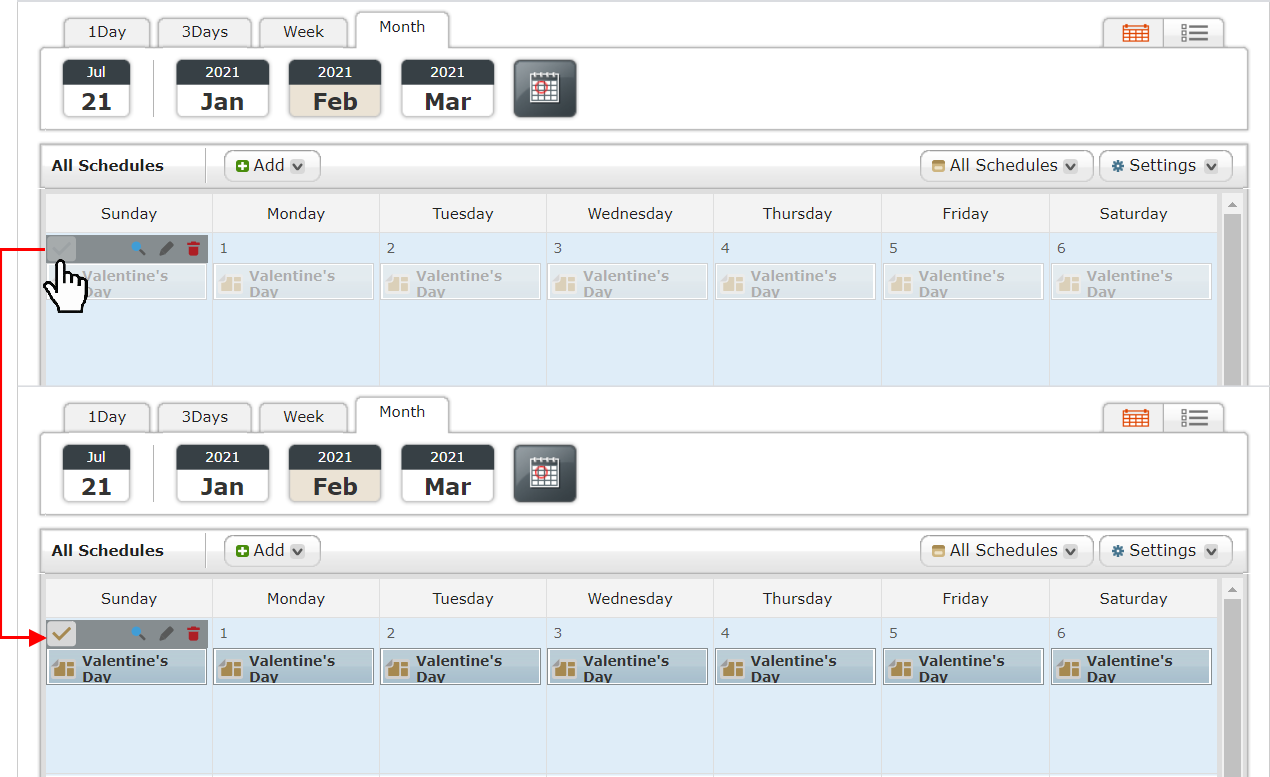
create a scheduled task. Then you can see the scheduled task on the calendar or time
list. Please remember to click the Enable button (from ![]() to
to ![]() ) to enable the
scheduled task.
) to enable the
scheduled task.
After you complete the above settings, please remember to upload files to the CMS server. Then, SMP-01 will playback the same video files in Folder-1 in CMS server and applies the same schedule as all other players in Group-A.